When it comes to maintaining your coffee maker, using the right descaling solution can make all the difference. Over time, hard water minerals like calcium and limescale build up inside your machine, affecting performance and taste. While some people swear by vinegar descaling solution, others prefer a store-bought or descaling solution homemade for more powerful results.
But which option is more effective? Is it better to use a commercial descaling solution or stick to the pantry staple, vinegar?
This guide breaks down the facts in a clear, research-backed comparison. You’ll learn the pros and cons of each method, step-by-step instructions to descale your machine, and expert tips on choosing the right descaling solution for your needs. Whether you’re a daily coffee drinker or a weekend sipper, regular maintenance using a proper descaling coffee maker method will extend your machine’s lifespan and improve the flavor of every brew.
Let’s explore the real difference between vinegar and descaling solution, so you can enjoy better-tasting coffee with less hassle.
Why You Need a Descaling Solution for Coffee Makers
Coffee makers don’t just need cleaning on the outside, they require internal maintenance too. That’s where a descaling solution becomes essential.
Every time you run water through your machine, especially in areas with hard water, minerals like calcium and magnesium accumulate inside the tubing, boiler, and heating elements. This buildup is called limescale, and if left untreated, it can cause:
- Slow brewing time
- Uneven heating
- Clogged or damaged internal parts
- Bitter-tasting or weak coffee
Even if you don’t notice it at first, these small changes eventually lead to reduced performance or even permanent damage.
Why Regular Descaling Matters
- Improves Taste: Mineral buildup changes the way water interacts with coffee grounds, which affects flavor extraction.
- Extends Machine Lifespan: Regularly using a descaling solution prevents internal corrosion and keeps parts running smoothly.
- Boosts Energy Efficiency: Machines with scale buildup require more energy to heat water, wasting electricity over time.
- Maintains Warranty: Some manufacturers require proof of descaling for warranty coverage.
Whether you use a descaling coffee maker solution from a store or a vinegar descaling solution, consistency is key. It’s recommended to descale every 1 to 3 months, depending on your water hardness and usage.
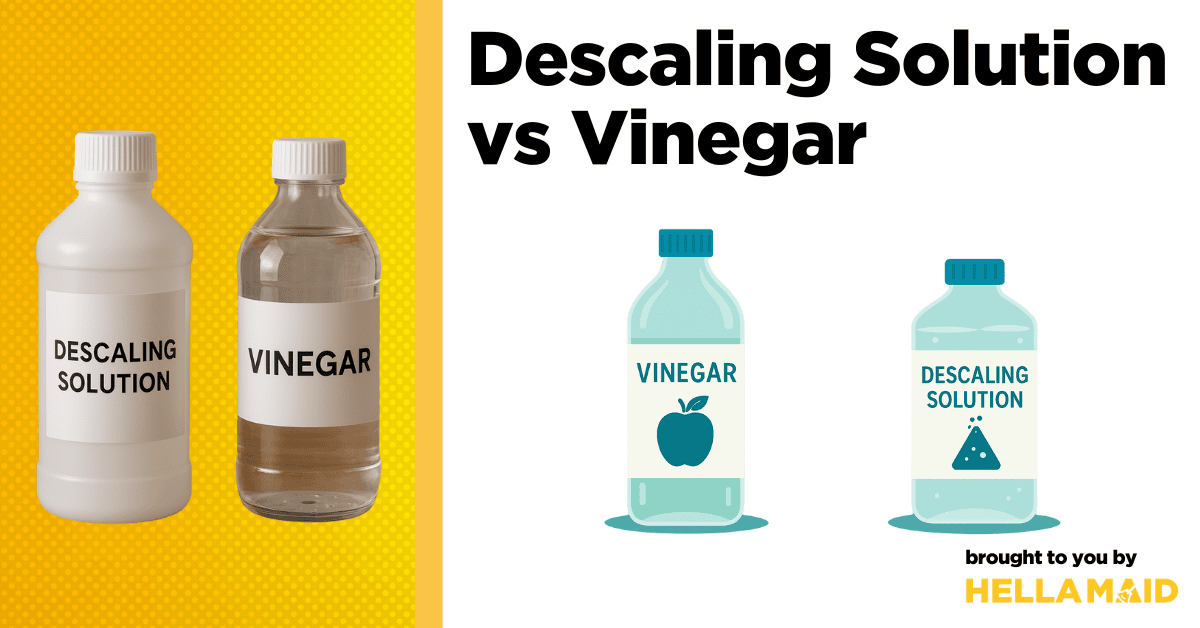
Descaling Solution vs. Vinegar: What’s the Real Difference?
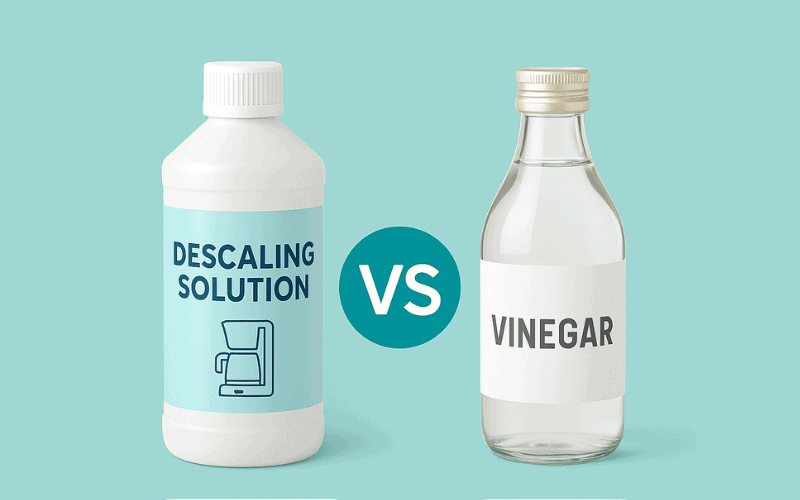
Now let’s get to the question every coffee lover asks, should you use a descaling solution or vinegar to clean your coffee maker?
Both options work, but they differ in strength, smell, cost, and how well they preserve your machine. Here’s a side-by-side breakdown to help you choose the best cleaning method.
Descaling Solution (Commercial or Homemade)
- Formulated for coffee machines: Designed specifically to dissolve limescale and mineral buildup.
- Odorless and residue-free: Leaves no strong smell or lingering taste.
- Gentle on internal components: Balanced acidity helps prevent damage to metal parts, rubber seals, or plastic tubing.
- Fast-acting: It breaks down scale efficiently in one cycle.
- Works on all machine types: From drip machines to espresso makers and Keurigs.
Best for: Those who want a safe, effective, no-odor solution designed specifically for coffee makers.
Vinegar Descaling Solution
- Natural and affordable: Made from acetic acid, which dissolves calcium deposits.
- Easily available: You probably already have it in your pantry.
- Strong smell: It can leave a lingering vinegar odor and taste that requires multiple rinse cycles.
- Can be harsh: Repeated use may wear out rubber seals or gaskets over time.
- Less effective on the heavy scale: It may need more than one cycle for deep descaling.
Best for: Budget-conscious users who want a DIY method and don’t mind a few extra rinses.
Verdict
| Feature | Descaling Solution | Vinegar Descaling Solution |
|---|---|---|
| Effectiveness | Highly effective | Effective but slower |
| Odor/Taste After Cleaning | Odorless | Strong vinegar smell |
| Safety for Machine Parts | Formulated to be gentle | Can degrade rubber over time |
| Cost | More expensive | Very affordable |
| Availability | Online or store-bought | Already in most homes |
| Rinsing Required | One or two rinse cycles | Multiple rinses needed |
While both options get the job done, a high-quality descaling solution is more reliable, especially if you’re using a premium or expensive machine.
How to Use a Descaling Solution Step-by-Step
Whether you use a store-bought or homemade descaling solution, the process is fairly simple. Just follow these steps to clean your coffee maker thoroughly and safely.
Always check your coffee maker’s user manual before descaling. Some manufacturers recommend specific products or steps.
What You’ll Need:
- A descaling solution (commercial or homemade)
- Clean water
- An empty coffee pot or carafe
- A soft cloth or sponge
Step-by-Step Instructions
- Empty the Coffee Maker
- Remove any used coffee grounds or pods.
- Take out the filter or reusable mesh basket.
- Empty the water reservoir.
- Prepare the Descaling Solution
- Commercial descaler: Follow the instructions on the bottle (usually 1 part solution to 1 part water).
- Descaling solution homemade: Mix 1 part citric acid or lemon juice with 1 part warm water.
- Fill the Water Reservoir
- Pour the descaling solution mixture into the reservoir just like you would with regular water.
- Run a Brew Cycle
- Start a full brew cycle without any coffee.
- Let the solution work its way through the system.
- Pause and Soak
- Midway through the cycle, pause the machine (if possible) and let the solution sit for 15–30 minutes to break down scale.
- Finish the Cycle
- Allow the rest of the cycle to complete and empty the pot.
- Rinse Thoroughly
- Fill the reservoir with clean water and run 2–3 full brew cycles to flush out any remaining descaling solution.
- Wipe Down External Parts
- Use a damp cloth to clean the exterior, buttons, and warming plate.
Pro Tips:
- Use distilled water when possible to slow down future mineral buildup.
- Descale every 1–3 months, depending on usage and water hardness.
- Never mix vinegar and store-bought descaling solution, choose one method per cycle.
How to Use a Vinegar Descaling Solution (Safely)
If you’re looking for a budget-friendly, DIY option, a vinegar descaling solution can be an effective alternative, if used correctly. However, keep in mind that vinegar’s acetic acid is strong and may leave behind a lingering smell or affect delicate machine components over time.
Here’s how to descale your coffee maker using vinegar while minimizing any downsides.
What You’ll Need:
- White distilled vinegar
- Clean water
- Coffee pot or carafe
- Soft cloth or sponge
Step-by-Step Instructions for Vinegar Descaling
- Empty the Machine
- Make sure the coffee maker is cool.
- Discard any old coffee grounds or pods.
- Remove filters and empty the water reservoir.
- Mix the Vinegar Solution
- Combine equal parts white vinegar and water.
- For example: 1 cup vinegar + 1 cup water for smaller machines.
- Fill the Reservoir
- Pour the vinegar descaling solution into the water reservoir.
- Start a Brew Cycle
- Begin a brew cycle as if you were making coffee, but with no grounds.
- If possible, pause the cycle halfway to let the solution soak for 15–30 minutes.
- Finish the Cycle
- Let the rest of the solution run through.
- Discard the hot liquid in the carafe.
- Rinse Thoroughly
- Fill the reservoir with fresh water and run 2–3 full rinse cycles.
- This step is critical to remove the vinegar taste and smell.
- Clean the Exterior
- Wipe the outside of the machine with a damp cloth to finish.
Safety Notes:
- Don’t use vinegar on aluminum or specialty espresso machines, it may corrode certain parts.
- For Keurig or Nespresso machines, check if vinegar voids the warranty.
Descaling Solution Homemade: Can You DIY It Safely?
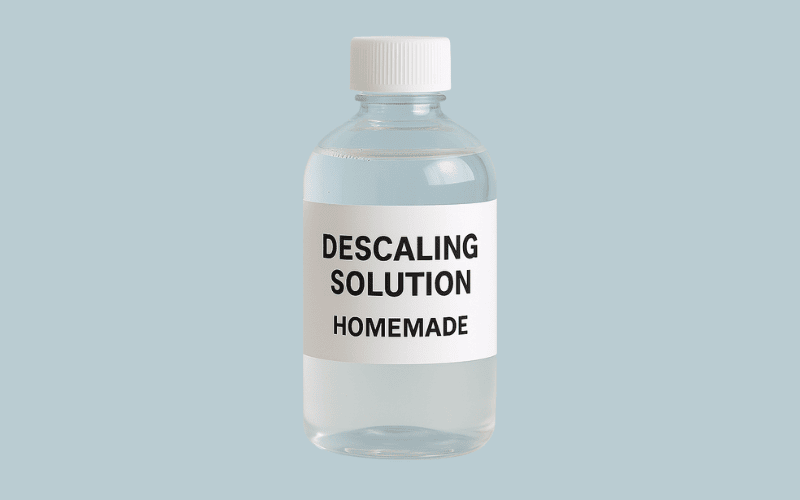
If you’re not a fan of commercial products and vinegar isn’t your go-to, there’s another option: homemade descaling solution using natural, safe ingredients. These DIY alternatives can be just as effective, when done right.
Here’s how to make and use your own descaling solution at home while keeping your machine safe and your coffee tasting fresh.
Common Ingredients for Homemade Descaling Solutions
- Citric Acid
- A popular choice found in lemon juice or in powdered form.
- How to use: Mix 1 tablespoon of citric acid with 1 liter (4 cups) of warm water.
- Gentle on components and odor-free.
- Lemon Juice
- Natural acid content similar to vinegar, but with a fresher scent.
- How to use: Mix 1 part lemon juice with 1 part water.
- Baking Soda (Use with caution)
- Mild cleaner, but not ideal for descaling.
- Can leave residue or clog the system if not fully dissolved.
Pros of Homemade Descaling Solutions
- Cost-effective
- Readily available ingredients
- Less harsh odor compared to vinegar
- Safe for most machines (especially citric acid)
Cons of Homemade Descaling Solutions
- Less potent than commercial solutions
- May require repeated use for heavy limescale
- Not always recommended for high-end machines (check your manual)
How to Use Homemade Citric Acid Descaler
- Empty your machine and water reservoir.
- Mix 1 tbsp citric acid with 1 liter of warm water.
- Pour the solution into the reservoir.
- Run a full brew cycle.
- Let it sit for 15–20 minutes if possible.
- Run another cycle if heavy scaling is visible.
- Rinse thoroughly with clean water (2–3 full cycles).
Pro Tip: Citric acid is widely considered the best homemade alternative to commercial descaling solution due to its balance of strength and gentleness.
When to Use a Descaling Solution and How Often
Using a descaling solution isn’t something you do daily, but it is something every coffee drinker should schedule regularly. Descaling not only extends the life of your coffee maker but also protects the flavor of your brew.
Signs It’s Time to Descale Your Coffee Maker
If you’re not sure when to descale, watch for these warning signs:
- Coffee tastes bitter or different
- Longer brewing time than usual
- Gurgling noises or reduced flow
- Visible mineral build-up around the water reservoir or spout
- Water doesn’t get hot enough
These symptoms indicate limescale buildup in your machine’s internal components, which can lead to inefficiency, or even permanent damage.
Descaling Frequency by Usage & Water Type
| Usage Level | Water Type | Recommended Frequency |
|---|---|---|
| Daily | Hard Water | Every 1–2 months |
| Daily | Soft Water | Every 3 months |
| Weekly | Hard Water | Every 3–4 months |
| Weekly | Soft Water | Every 6 months |
Pro Tip: Use filtered water to slow down mineral buildup and reduce how often you’ll need to descale.
How Long Does It Take to Use a Descaling Solution?
- Total Time: ~30–45 minutes
- Active Descaling: 15–20 minutes
- Rinse Cycles: 10–15 minutes (depending on machine type)
Set aside about an hour for a thorough clean, you’ll thank yourself later when your coffee tastes fresh and your machine lasts longer.
Descaling Solution vs. Vinegar: Which One Should You Use?
Choosing between a descaling solution and vinegar comes down to three things: effectiveness, safety, and manufacturer recommendations. While both options remove limescale, they don’t perform the same, and choosing the wrong one can actually harm your machine.
Descaling Solution: Pros and Cons
Pros:
- Designed specifically for coffee makers and espresso machines
- Removes mineral deposits without affecting machine parts
- No lingering odor or taste
- Usually recommended by manufacturers
Cons:
- Slightly more expensive than vinegar or DIY options
- May require purchasing online or from specialty stores
Vinegar Descaling Solution: Pros and Cons
Pros:
- Very affordable and accessible
- Effective at breaking down calcium and limescale
- Easy DIY option in emergencies
Cons:
- Strong odor that can linger in your machine
- Can damage rubber seals or internal components over time
- Not recommended by many appliance brands
- Requires extra rinse cycles to fully remove smell and taste
So, Which One Should You Choose?
| Feature | Descaling Solution | Vinegar Descaling Solution |
|---|---|---|
| Machine Safety | Safe | Risk of damage |
| Smell/Taste After Use | None | Lingering odor |
| Cost | Higher | Budget-friendly |
| Manufacturer Approved | Usually | Often not recommended |
| Rinse Time | Quick | Requires more rinsing |
Best Choice: For long-term care, a commercial descaling solution is safer, more effective, and recommended, especially for espresso or high-end coffee machines.
Pro Tips for Using a Descaling Solution Effectively
Using a descaling solution isn’t just about pouring and pressing “brew.” To get the most out of your descaling session, and to protect your machine, follow these expert tips:
Before You Begin
- Read the manual first: Always check your coffee maker’s instructions for descaling recommendations and warnings.
- Use the correct dilution: If your descaling solution is concentrated, dilute it exactly as directed to avoid damage.
- Empty the machine: Remove any coffee pods, filters, or grounds to avoid clogs and contamination.
During the Process
- Run a full cycle with descaling solution: Allow it to run through all internal parts to dissolve limescale.
- Pause for soaking: Midway through the cycle, pause for 15–20 minutes. This allows the solution to break down buildup more effectively.
- Watch for foam: Some solutions may foam during cleaning, that’s normal and a sign the descaler is working.
After Descaling
- Rinse thoroughly: Run 2–3 full cycles of fresh water to flush out any leftover solution.
- Clean removable parts: Rinse the water tank, drip tray, and other detachable parts with soap and water.
- Wipe the exterior: Use a damp cloth to clean the outer surface of your machine and remove any splash residue.
Pro Tip: Mark your calendar or set a phone reminder for your next descaling session, especially if you use hard tap water!
FAQ’s
1. Can I use vinegar instead of a descaling solution?
Yes, but with caution. While vinegar is a common DIY descaler, it’s not always safe for every machine. It can leave a strong smell and damage rubber seals over time. Most manufacturers recommend using a dedicated descaling solution for better results and safety.
2. How often should I descale my coffee maker?
It depends on your usage and water hardness:
- Heavy daily use + hard water: Every 1–2 months
- Moderate use + soft water: Every 3–4 months Use a water filter if possible to extend the time between descalings.
3. What happens if I don’t descale my machine?
Mineral deposits will build up, leading to:
- Poor coffee taste
- Longer brew times
- Lower water temperatures
- Possible clogs or long-term machine damage Regular use of a descaling solution prevents these issues and extends the lifespan of your coffee maker.
4. Can I make a homemade descaling solution?
Yes. A descaling solution homemade recipe often includes:
- 1 part white vinegar + 1 part water
- OR 2 tablespoons of citric acid dissolved in 1 liter of warm water
However, these are less precise and may not be suitable for all machines.
5. Does descaling clean mold or bacteria too?
Descaling mainly removes mineral buildup, not biological contaminants. For mold or bacteria, follow your manufacturer’s instructions for sanitizing or use a separate cleaning cycle with approved cleaning tablets or mild dish soap.
Need Help Beyond Descaling? Let Hellamaid Handle the Dirty Work
While you take care of your coffee maker with the right descaling solution, don’t forget about the rest of your home! Hellamaid offers professional house cleaning services trusted by homeowners across Texas.
From deep kitchen cleaning to dust-free living rooms, we handle every nook and cranny so you can enjoy a spotless space (and your coffee!) without lifting a finger.
Book your expert home cleaning today at Hellamaid and experience the joy of coming home to clean.