
Cleaning your oven can be a daunting task, but it’s a necessary one to maintain a safe and functional kitchen. Whether it’s the occasional spills, grease splatters, or built-up grime, your oven takes a beating with each use. Instead of resorting to harsh cleaning chemicals, why not opt for a natural, cost-effective solution? In this guide, we’ll show you how to make a DIY oven cleaner that’s safe, eco-friendly, and highly effective. Say goodbye to stubborn oven stains and hello to a sparkling clean appliance!
Why Choose a DIY Oven Cleaner?
Before we dive into the recipe and steps, let’s explore why DIY oven cleaners are a fantastic choice:
1. Eco-Friendly
Many store-bought oven cleaners contain harsh chemicals that can be harmful to your health and the environment. By making your own cleaner, you can avoid exposing your family to these toxic substances and reduce your ecological footprint.
2. Cost-Effective
Commercial oven cleaners can be pricey. Creating your own cleaner using simple ingredients that you likely already have at home is a budget-friendly option.
3. Customizable
DIY oven cleaners are incredibly versatile. You can adjust the ingredients to suit your specific needs, making it a suitable solution for various types of oven messes.
4. Safe
The ingredients used in DIY oven cleaners are typically safe and non-toxic, making them a better choice for homes with children or pets.
Now, let’s get into the nitty-gritty of how to make your DIY oven cleaner.
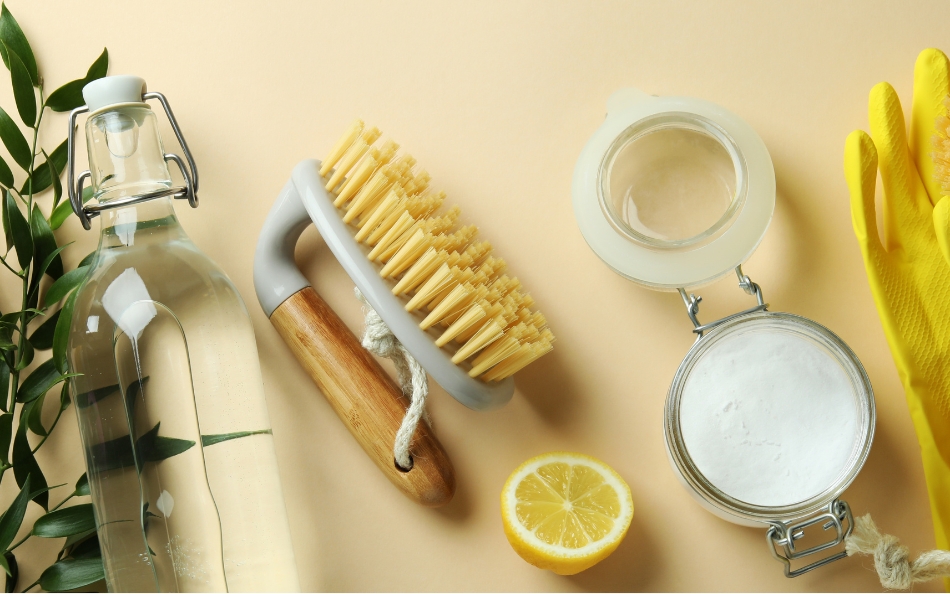
Ingredients for Your DIY Oven Cleaner
To make your own effective oven cleaner, you’ll need a few basic ingredients:
1. Baking Soda
Baking soda is a versatile cleaning agent known for its ability to break down stains and grime. It’s gentle on surfaces and won’t cause scratches.
2. Water
Water serves as the base for your cleaner, helping create a paste-like consistency when mixed with baking soda.
3. Vinegar
Vinegar is excellent for cutting through grease and grime. Its natural acidity makes it a powerful cleaning agent.
4. Dish Soap
Dish soap helps cut through oily residues and adds extra cleaning power to your solution.
5. Essential Oils (Optional)
Essential oils, such as lemon or lavender, can be added for a pleasant scent and additional cleaning properties.
The DIY Oven Cleaner Recipe
Now that you have your ingredients ready, follow these simple steps to create your DIY oven cleaner:
Step 1: Gather Your Supplies
For this DIY project, you’ll need a mixing bowl, a spatula or spoon, an empty spray bottle, and a scrubbing sponge or cloth.
Step 2: Create the Cleaning Paste
In your mixing bowl, combine 1/2 cup of baking soda and water to form a thick paste. Adjust the amount of water as needed to achieve the desired consistency.
Step 3: Apply the Paste
Carefully spread the paste over the interior surfaces of your oven, focusing on areas with stubborn stains and grime. Ensure the oven is cool before starting this process.
Step 4: Let It Sit
Allow the baking soda paste to sit in your oven for at least 12 hours, or overnight for the best results. During this time, the paste will break down and loosen the dirt and grease.
Step 5: Wipe Clean
Using a damp sponge or cloth, wipe away the baking soda paste, along with the dirt and grime it has absorbed. Be patient, as this might take a little effort.
Step 6: Vinegar Solution
In your empty spray bottle, mix equal parts of water and vinegar. Spray this solution inside your oven to remove any remaining residue and give your oven a final clean.
Step 7: Rinse
Use a clean, damp cloth or sponge to rinse the interior of your oven thoroughly. Ensure that no cleaning solution remains.
Step 8: Dry
Leave the oven door open to air dry and allow any remaining moisture to evaporate.
Additional Tips for a Spotless Oven
Achieving a spotless oven isn’t just about the cleaner; it’s also about maintenance and prevention. Here are some extra tips to keep your oven clean and sparkling:
1. Place a Drip Tray
To catch spills and prevent them from hardening on your oven floor, place a drip tray or aluminum foil on the lower rack.
2. Regularly Clean Spills
Clean up spills and splatters as they occur. Fresh spills are much easier to clean than caked-on messes.
3. Use Oven Liners
Consider using oven liners or mats to protect the oven floor from spills and drips.
4. Avoid Harsh Cleaners
Steer clear of harsh chemical cleaners that can damage your oven’s surfaces and leave behind toxic residues.
5. Ventilation
Proper ventilation can help minimize the build-up of odors and stains. Use your oven’s exhaust fan when cooking.
With a DIY oven cleaner, you can maintain a clean and safe oven without resorting to harsh chemicals or breaking the bank. This eco-friendly and cost-effective solution allows you to tackle tough oven stains while prioritizing your family’s health and the environment. By following the steps and tips outlined in this guide, you’ll be well on your way to achieving a spotless oven with ease. Say goodbye to the grease and grime and hello to a kitchen appliance that sparkles!